Table of Contents (12 sections)
Caring for your pet’s health starts with the small things, like offering them treats that are as nourishing as they are tasty. In this tutorial, we will guide you through creating healthy pet treats recipes at home. Not only are these treats cost-effective, but they're also free from unnecessary additives.
Step 1: Gather Your Ingredients
When making homemade pet treats, prioritize using organic and natural ingredients. Common ingredients include oats, pumpkin, peanut butter (without xylitol), and sweet potatoes. According to The American Pet Products Association, owners spend $31 billion a year on pet food and treats, indicating the growing interest in pet nutrition. Avoid ingredients like chocolate, onions, and grapes that are toxic to pets.
Step 2: Choose the Right Recipe
Selecting a recipe suited for your pet's needs is crucial. For dogs, peanut butter-oat biscuits are a hit, while fish-based treats entice cats. A simple recipe for dogs includes half a cup of oats, one cup of pumpkin puree, and two tablespoons of peanut butter. Mix and shape into small rounds. For cats, pureeing cooked fish and freezing small portions can be delightful.
Step 3: Prepare and Preheat
Preparation is key to ensuring your treats come out perfect. Preheat your oven to 350°F (175°C) for most recipes to ensure even baking. Line a baking sheet with parchment paper to prevent sticking. Engaging in these practices ensures your treats are baked evenly and with ease.
Step 4: Baking the Treats
Place your treats on the prepared baking sheet, ensuring even spacing. For crunchy biscuits, bake for about 20 minutes. Monitor closely to prevent burning. According to UFC-Que Choisir, varying cooking times can affect nutrient content, making proper baking time crucial.
Step 5: Cooling and Storing
Allow treats to cool before serving to avoid potential mouth burns. Store them in an airtight container to maintain freshness. Properly stored, these treats can last up to two weeks. For optimal freshness, consider refrigeration. Pet owners often store in jars known to be eco-friendly as suggested by ADEME reports.
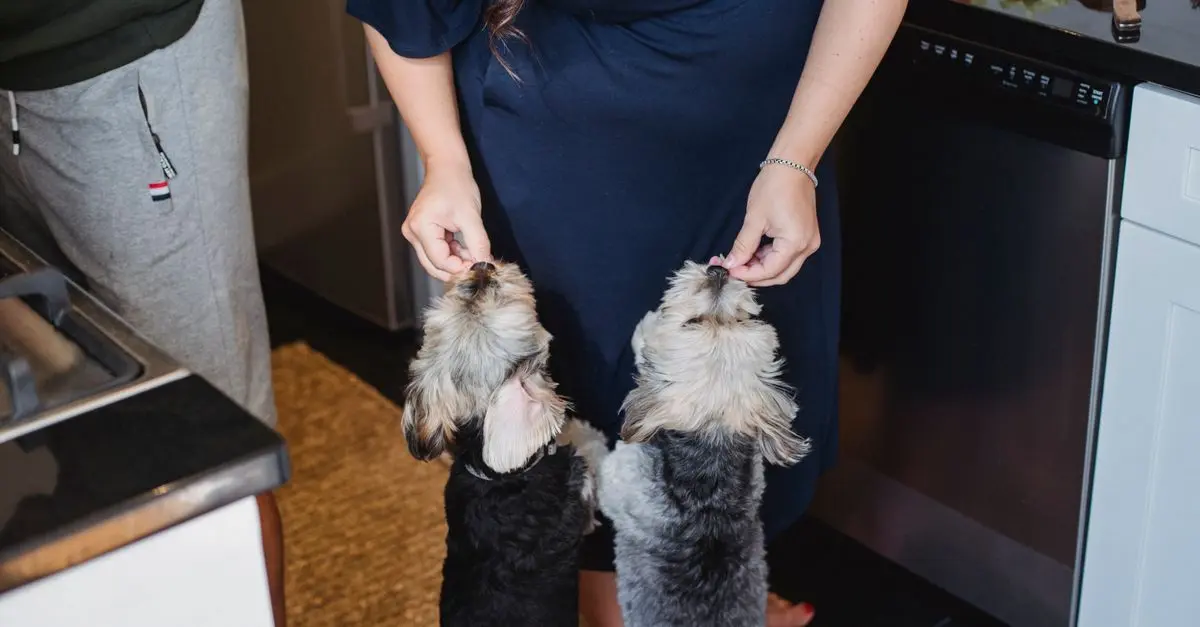
Step 6: Monitoring Pet Reactions
Observe your pet as they try the new treats. Make adjustments based on their preferences or dietary restrictions. This ensures you cater specifically to your pet's nutritional needs, promoting better health and satisfaction.
📺 Resource Video
> 📺 For more insights: Homemade Pet Treats Tutorial — watch this in-depth guide on YouTube.
Comparative Analysis
Here's a comparison of different homemade treat options:
| Ingredient | Recipe 1: Dog Biscuits | Recipe 2: Cat Treats | Recipe 3: Rabbit Treats |
|---|---|---|---|
| Base Ingredient | Oats | Fish | Carrot |
| Additional Flavor | Peanut Butter | Chicken Broth | Leafy Greens |
| Ideal Storage | 2 Weeks | 1 Week | 3-5 Days |
| Verdict | Simple & Nutritious | Protein-Packed | Fresh & Crunchy |
| Term | Definition |
|---|---|
| Organic | Produced without synthetic additives |
| Xylitol | A sweetener that is toxic to dogs |
| Eco-friendly | Not harmful to the environment |
- What ingredients can I safely use for homemade pet treats?
You can safely use oats, pumpkin, carrots, and peanut butter. Avoid using chocolate, onions, and grapes.
- How should I store homemade pet treats?
Store them in an airtight container; refrigeration can extend their shelf life.
- Can I use the same recipe for dogs and cats?
Not always; different pets have different dietary needs. Adjust recipes to suit their requirements.
- Why is xylitol dangerous for dogs?
Xylitol causes a rapid insulin release in dogs, leading to hypoglycemia, which can be fatal.
🧠 Quick Quiz: What's a safe ingredient to use in dog treats?
- A) Chocolate
- B) Peanut Butter
- C) Onion
Answer: B — Peanut Butter is safe for dogs as long as it's free of xylitol.